Getting Started PTB: Difference between revisions
From pCT
No edit summary |
No edit summary |
||
| Line 38: | Line 38: | ||
</syntaxhighlight> | </syntaxhighlight> | ||
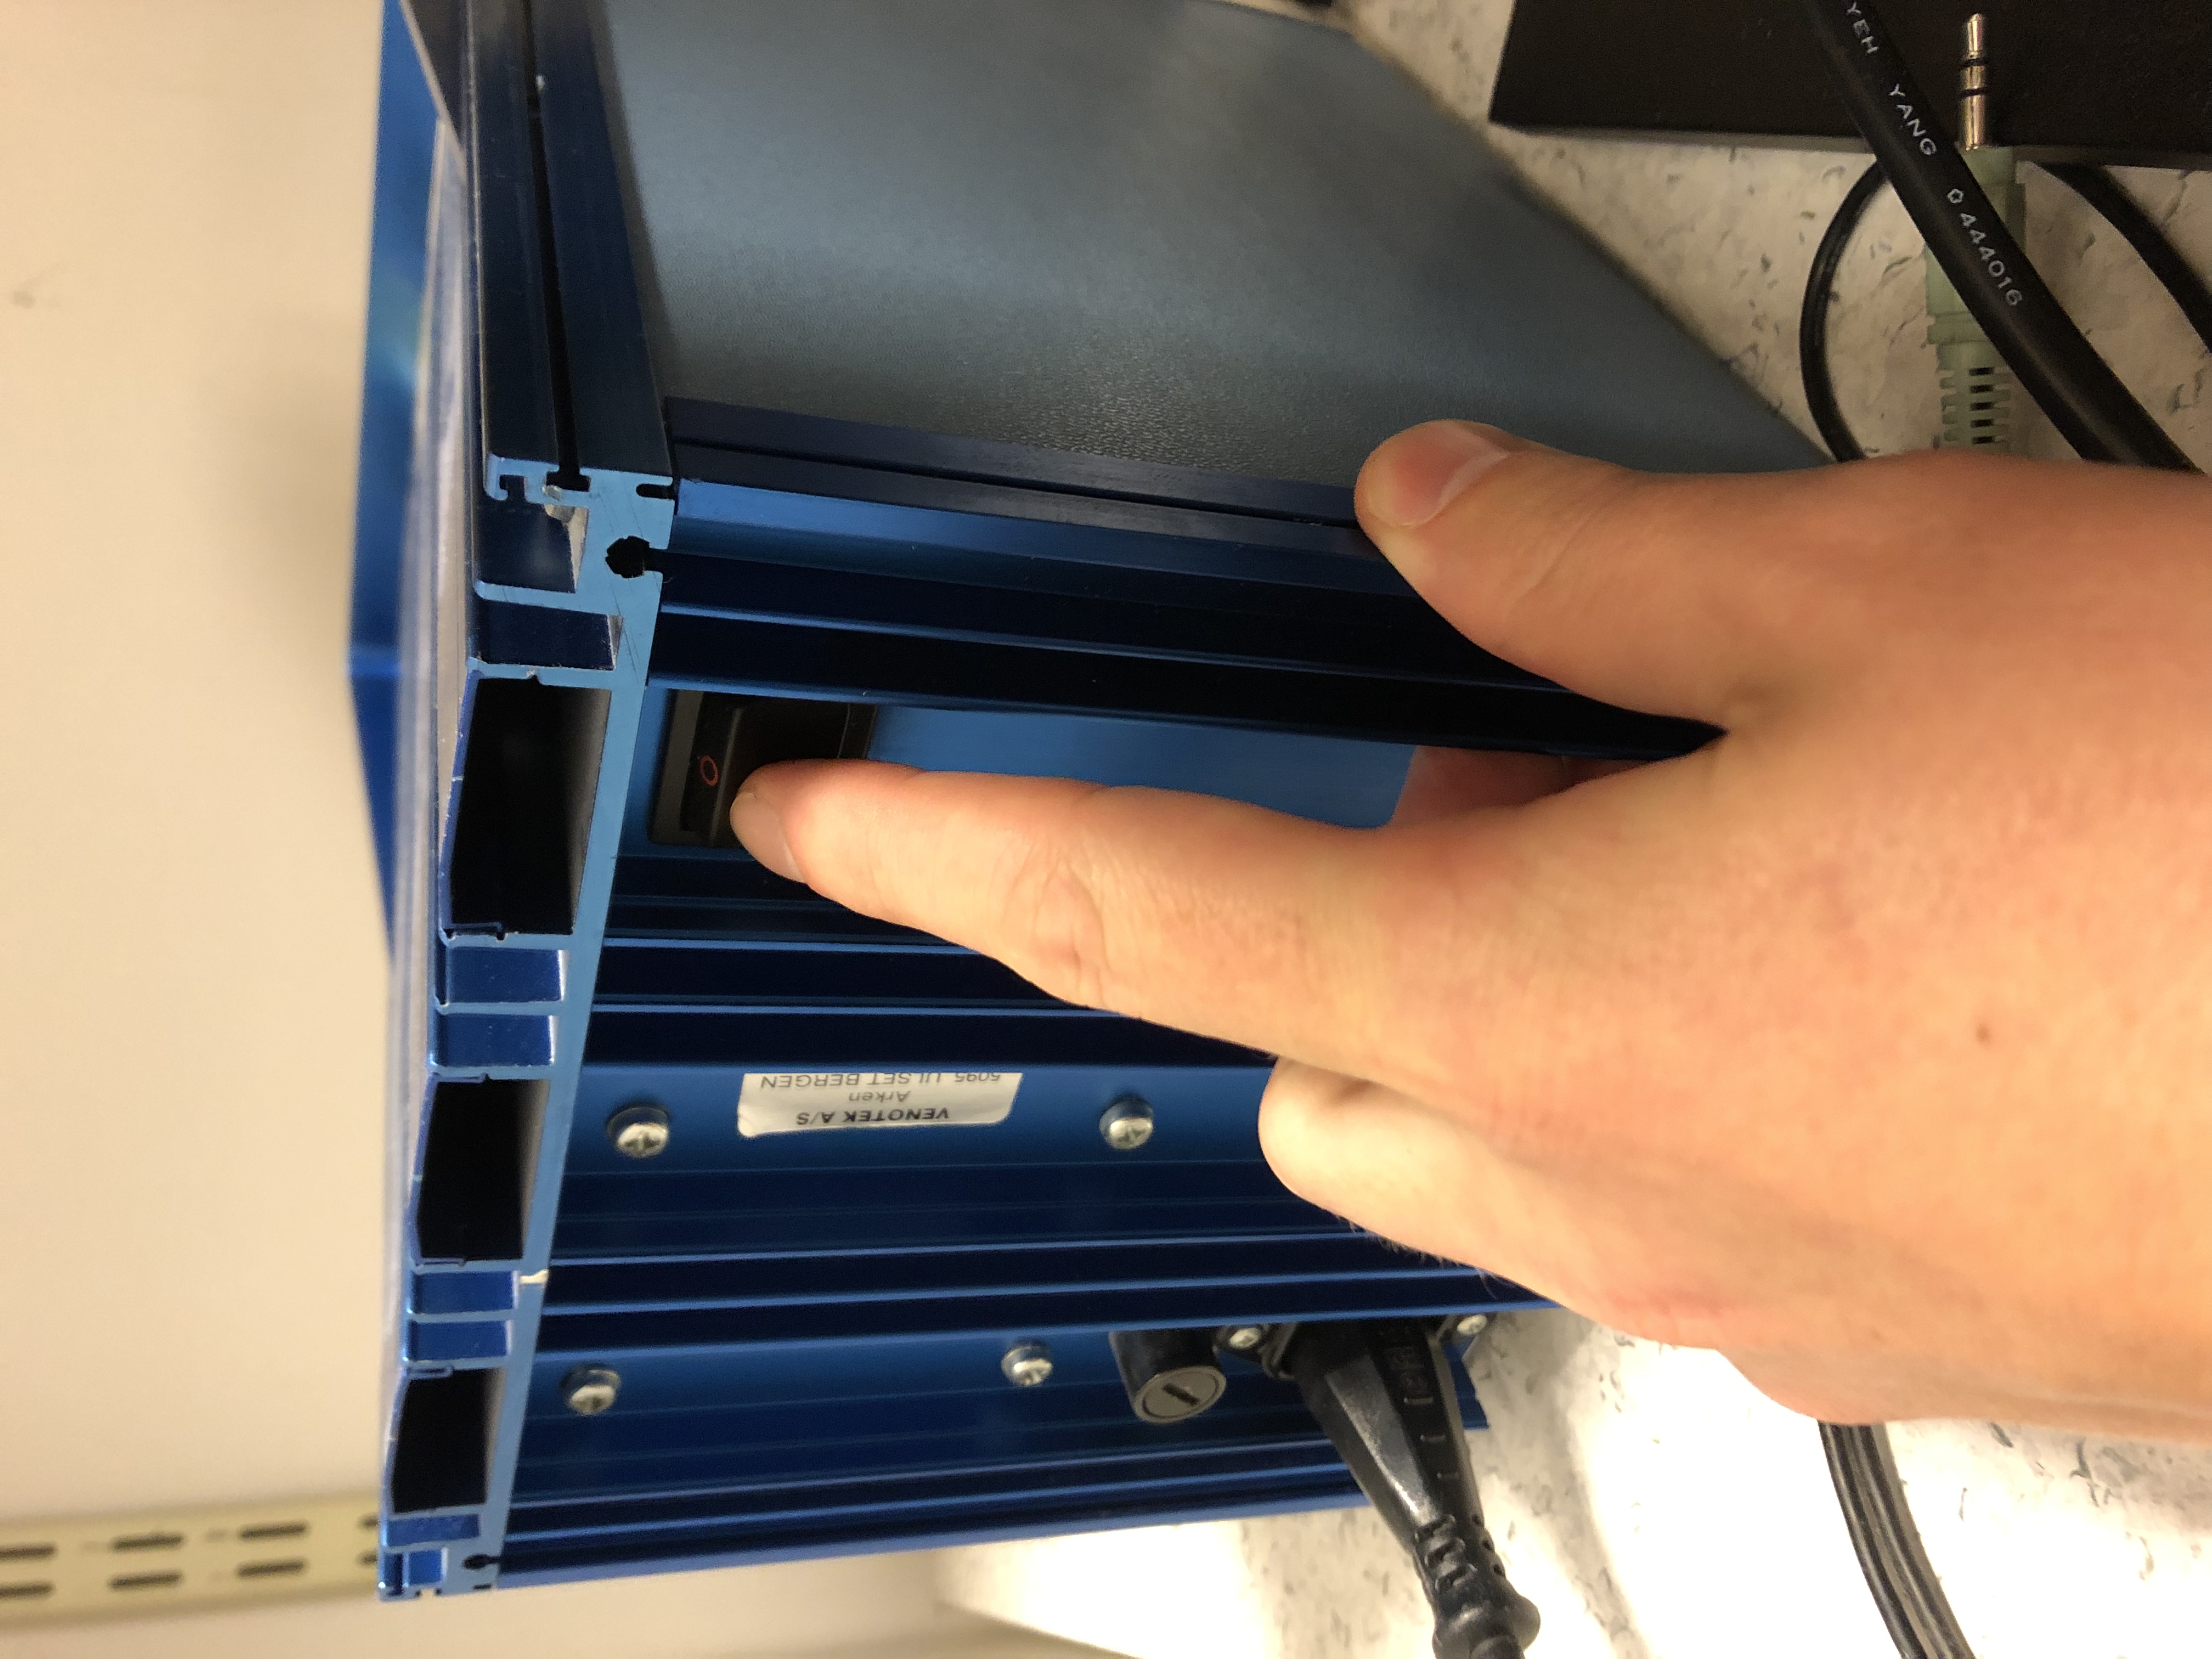
9. [[Media: | 9. [[Media:reset_ptb_hard.jpg | Restart PTB]] | ||
The serial debug window should have something like the following output: | The serial debug window should have something like the following output: | ||
[[File:PTB-boot.png|400 px]] | [[File:PTB-boot.png|400 px]] | ||
Revision as of 08:00, 13 September 2019
Getting Started
1. Fetch changes from upstream repo
2. Checkout tag of your select release. See releases. This guide assumesPTB-v2.0.
$ git checkout PTB-v2.0
3. Make sure repo is clean
4. Get pre-built bitstream.
$ make get_latest_bitstream TAG=PTB-v2.0
5. Build embedded software
$ make sdk_gen_projects PRJ=PTB
6. (Optional) Open a new terminal window and start debugging stream. Shows messages from embedded system once programmed.
$ make serial
8. Generate bootloader and program flash
$ make gen_bootimage
$ make program_flash
9. Restart PTB
The serial debug window should have something like the following output:


